Learn Hand Embroidery: Basics to Projects in 5 Steps

Learn Hand Embroidery: Basics to Projects in 5 Steps

🧰

Instant Toolkit

2 artifacts

πŸ“‹
Step-by-Step Guide

1

Step 1: Gather Essential Supplies

Start by assembling a beginner embroidery kit or individual tools:

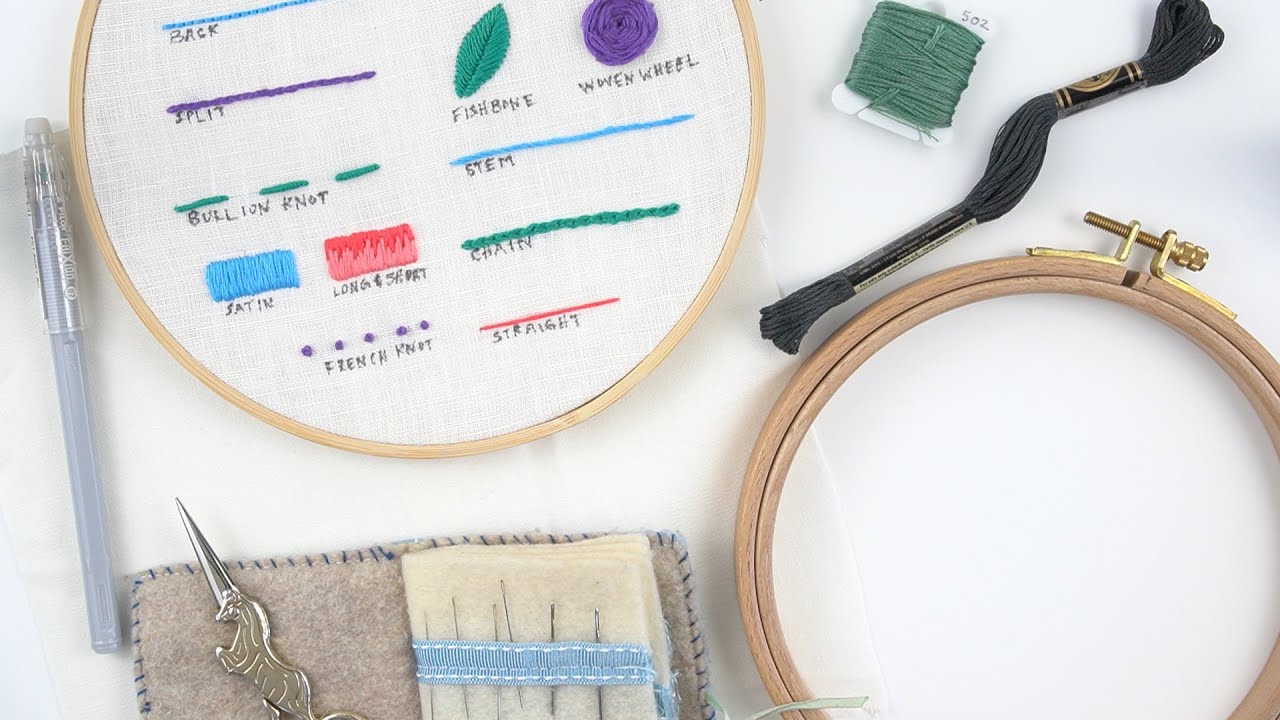
  • Embroidery hoop (6-8 inch plastic or wood, $5-10)
  • Embroidery floss (DMC six-strand, start with 5-10 skeins in assorted colors)
  • Embroidery needles (sizes 8-10 for 2-3 strands)
  • Fabric (cotton or linen blend, 10x10 inch piece, light-colored)
  • Scissors (small, sharp)
  • Transfer tools (water-soluble pen or FriXion pen, pattern paper)

Purchase a starter kit like Clever Poppy's Stitch Sampler ($40) which includes everything plus video access. Practice separating floss: cut arm's length, gently pull one strand at a time to avoid tangles.

Pro Tip: Wind floss on bobbins for organization.

Why this step matters:
  • -Builds confidence with proper tools for frustration-free practice
  • -Ensures durable, professional-looking results from the start
30-60 minutes
Embroidery hoop, DMC floss, Embroidery needles, Scissors, FriXion pen
$20-$50
Definition of Done
  • β€’All supplies assembled and floss separated into strands
  • β€’Workspace organized with good lighting
Common Mistakes to Avoid

❌ Using dull sewing needles that snag fabric

β†’Switch to embroidery needles with larger eyes

❌ Buying too many floss colors initially

β†’Start with 6 basic shades and expand later

2

Following along, or just reading? πŸ‘€

Spin up a personalized β€œlearn embroidery” plan you can save, check off, and return to anytime β€” unlimited on the free trial.

Start free trial β†’
3
4
5