Master Figma Auto Layout for Responsive UIs in 5 Steps

Master Figma Auto Layout for Responsive UIs in 5 Steps

🧰

Instant Toolkit

2 artifacts

📋
Step-by-Step Guide

1

Step 1: Get Started with Figma Basics

  1. Sign up for a free Figma account at figma.com if you haven't already.
  2. Create a new design file (File > New Design File).
  3. Draw a frame (F key) and add child elements like a rectangle (R) and text (T).
  4. Select the frame or children and press Shift + A to add auto layout. Figma auto-detects flow (vertical or horizontal).
  5. Toggle off with Option + Shift + A (Mac) or Alt + Shift + A (Windows).

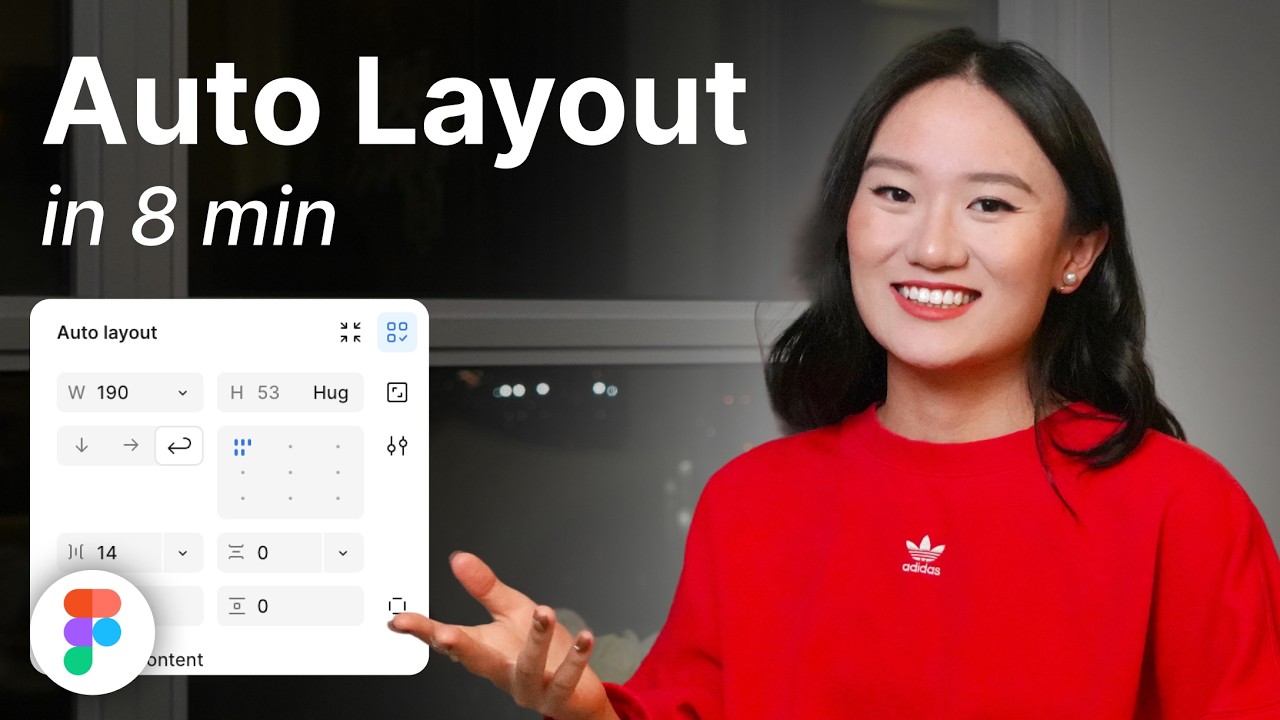
Explore the Auto Layout section in the right sidebar.

Why this step matters:
  • -Builds foundation for dynamic designs that adapt to content changes
  • -Essential skill for creating flexible UI components used in prototypes
15-30 minutes
Figma (free), Web browser
$0
Definition of Done
  • Successfully added and removed auto layout on a frame
  • Identified Auto Layout properties in the Design panel
Common Mistakes to Avoid

Selecting non-frame layers without grouping

Use frames first or select layers to auto-create frame

Ignoring keyboard shortcuts

Practice Shift + A for quick enabling

2

Following along, or just reading? 👀

Spin up a personalized “learn Figma auto layout” plan you can save, check off, and return to anytime — unlimited on the free trial.

Start free trial →
3
4
5