2 artifacts
Tap to collapse details
Start with affordable or existing items:
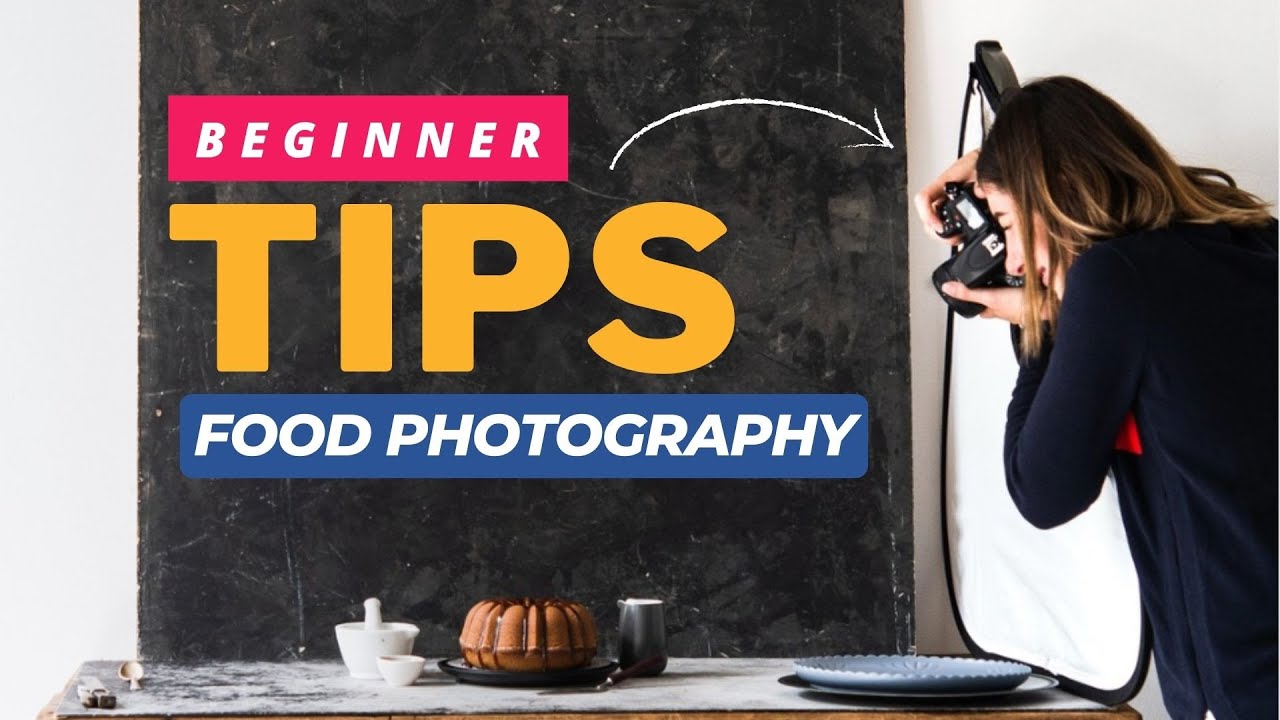
Set up near a north-facing window for soft, indirect natural light. Test by photographing a simple apple to check stability.
❌ Buying expensive gear right away
→Use smartphone and DIY reflectors first, upgrade as skills grow
❌ Shooting in cluttered kitchen
→Clear space near window, use portable backdrops
❌ Ignoring tripod stability
→Test with overhead arm for flat lays
Tap to expand details
Spin up a personalized “learn food photography” plan you can save, check off, and return to anytime — unlimited on the free trial.
Two Loves Studio
Domestika
Skillshare
by Lauren Caris Short
by Joanie Simon
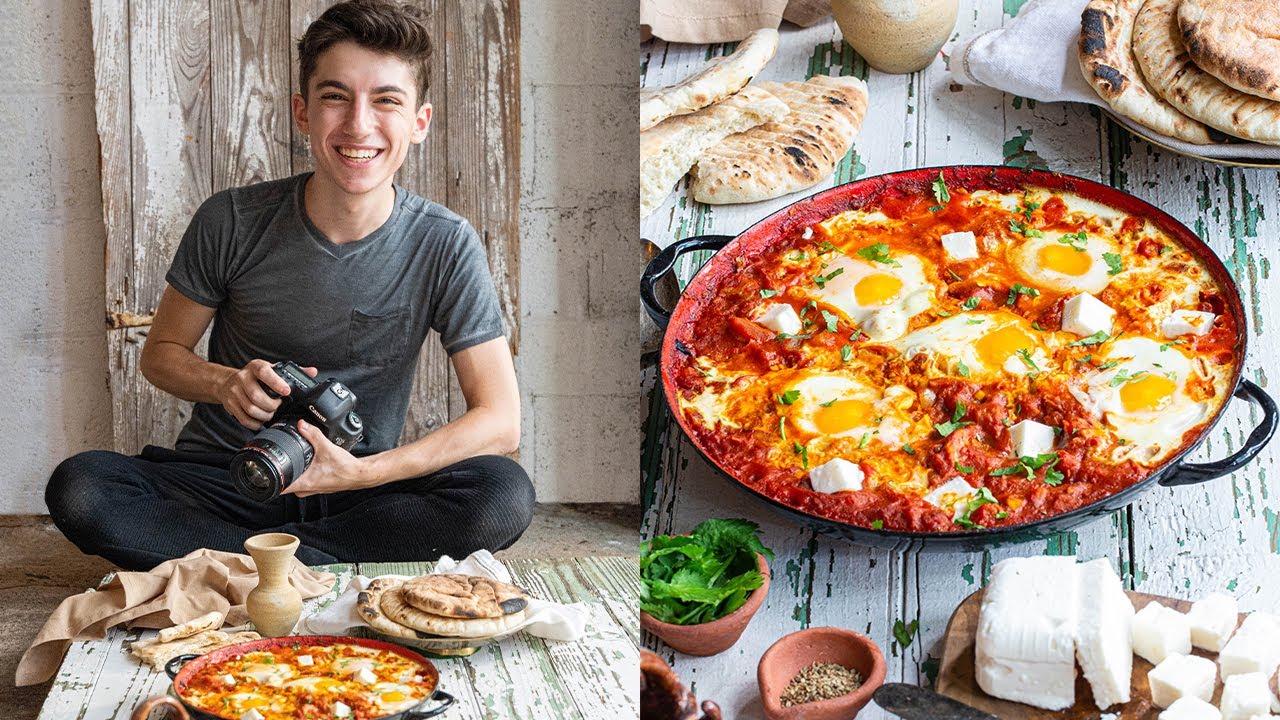
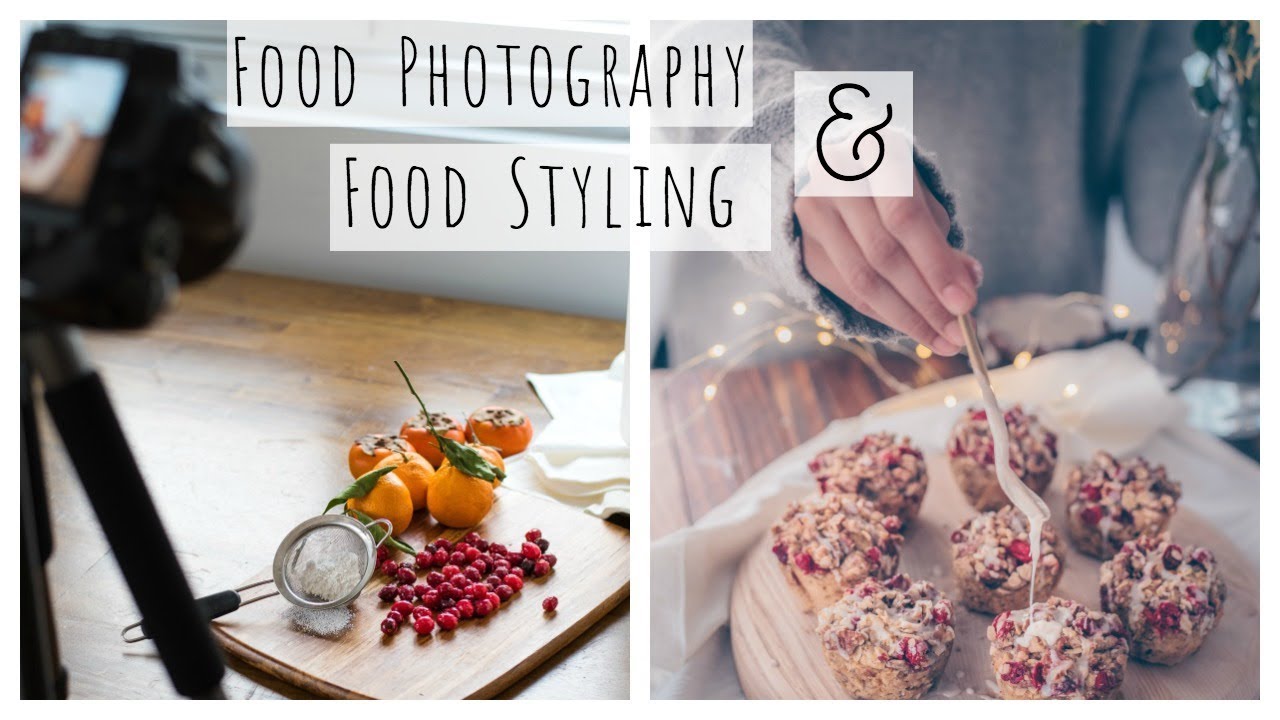
Detailed beginner tips on gear, lighting, and styling
Comprehensive resource covering equipment to editing
Affordable gear recommendations for starters
Essential editing software for RAW files and precise adjustments
Sturdy support for sharp shots and overhead angles
DIY reflectors and blockers for light control