Master Hand Lettering Basics in 5 Steps

Master Hand Lettering Basics in 5 Steps

🧰

Instant Toolkit

3 artifacts

📋
Step-by-Step Guide

1

Start by collecting beginner-friendly supplies. Recommended tools include a mechanical pencil (like Staedtler Mars), kneaded eraser, Rhodia dot pad or HP Premium 32 paper, ruler for guidelines, and beginner brush pens such as Tombow Fudenosuke or Pentel Touch.

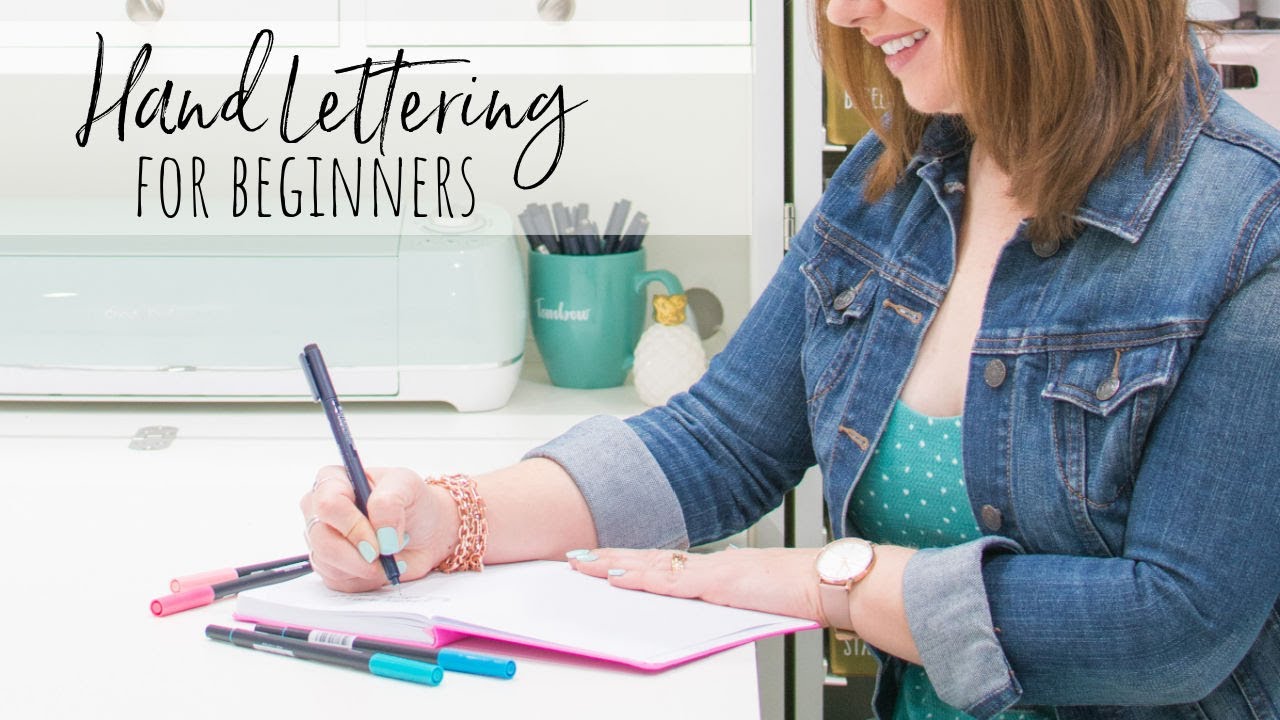
Set up a comfortable workspace: sit with feet flat, back straight, paper horizontal. Draw guidelines: baseline, x-height (for lowercase), ascender, and descender lines using a ruler. Practice lightly to get comfortable.

Free resources: Download practice sheets from Lettering Daily.

Why this step matters:
  • -Builds muscle memory with proper posture and tools for consistent results
  • -Enables focused practice without frustration from poor setup
30-60 minutes
Mechanical Pencil, Rhodia Dot Pad, Tombow Fudenosuke Brush Pen, Kneaded Eraser
$10-$30
Definition of Done
  • Workspace is ergonomic and guidelines drawn accurately
  • All tools tested with light strokes
Common Mistakes to Avoid

Using wrong paper that bleeds ink

Switch to smooth, thick paper like Rhodia or HP Premium

Gripping pen too tightly

Hold 2-3 cm from tip, relax shoulder movement

2

Following along, or just reading? 👀

Spin up a personalized “learn hand lettering” plan you can save, check off, and return to anytime — unlimited on the free trial.

Start free trial →
3
4
5