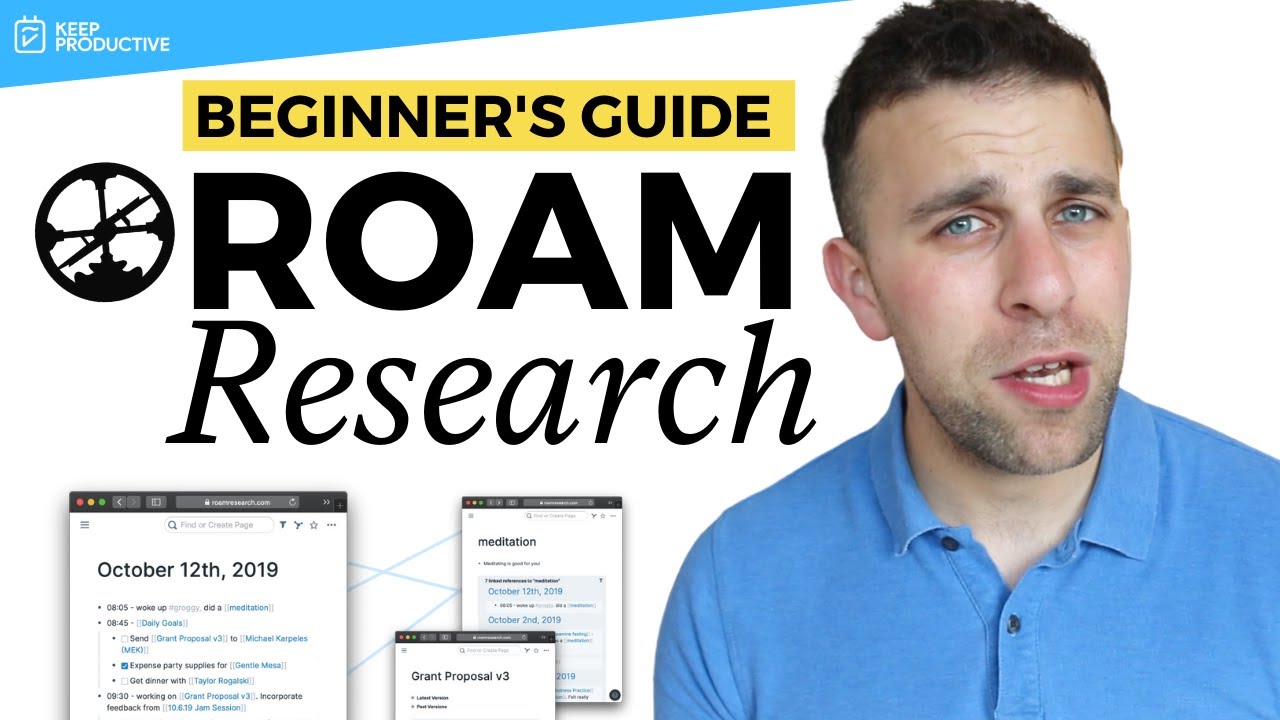
Master Networked Note-Taking with Roam in 5 Steps

Master Networked Note-Taking with Roam in 5 Steps

🧰

Instant Toolkit

3 artifacts

📋
Step-by-Step Guide

1

Step 1: Get Started with Roam Research

  1. Visit roamresearch.com and click 'Start Free Trial' to create an account (31-day trial available).
  2. Name your first graph (database), e.g., 'Personal Knowledge Base'.
  3. Familiarize with the interface:
    • Left sidebar: Daily Notes, Graph Overview, All Pages, Shortcuts.
    • Top search bar: Type to search or create pages.
    • Right sidebar: Open multiple pages (right-click titles).
    • Bottom-right ? icon: Access help and [/commands].
  4. Open Daily Notes (today's date) and add a test bullet point.
Why this step matters:
  • -Builds familiarity with the core workspace for efficient navigation
  • -Enables quick capture of ideas without setup friction
15-30 minutes
Roam Research account, Web browser, Computer or tablet
$0 (trial)
Definition of Done
  • Successfully created a graph and navigated sidebar sections
  • Added and edited a block in Daily Notes
Common Mistakes to Avoid

Overlooking the left sidebar navigation

Click each section (Daily Notes, All Pages) to see their purpose

Skipping the trial sign-up due to cost concerns

Use the 31-day free trial to evaluate fully before committing

2

Following along, or just reading? 👀

Spin up a personalized “learn Roam Research” plan you can save, check off, and return to anytime — unlimited on the free trial.

Start free trial →
3
4
5