Master Posture Correction: 5 Steps to Optimal Alignment

Master Posture Correction: 5 Steps to Optimal Alignment

🧰

Instant Toolkit

2 artifacts

📋
Step-by-Step Guide

1

Assess Your Current Posture

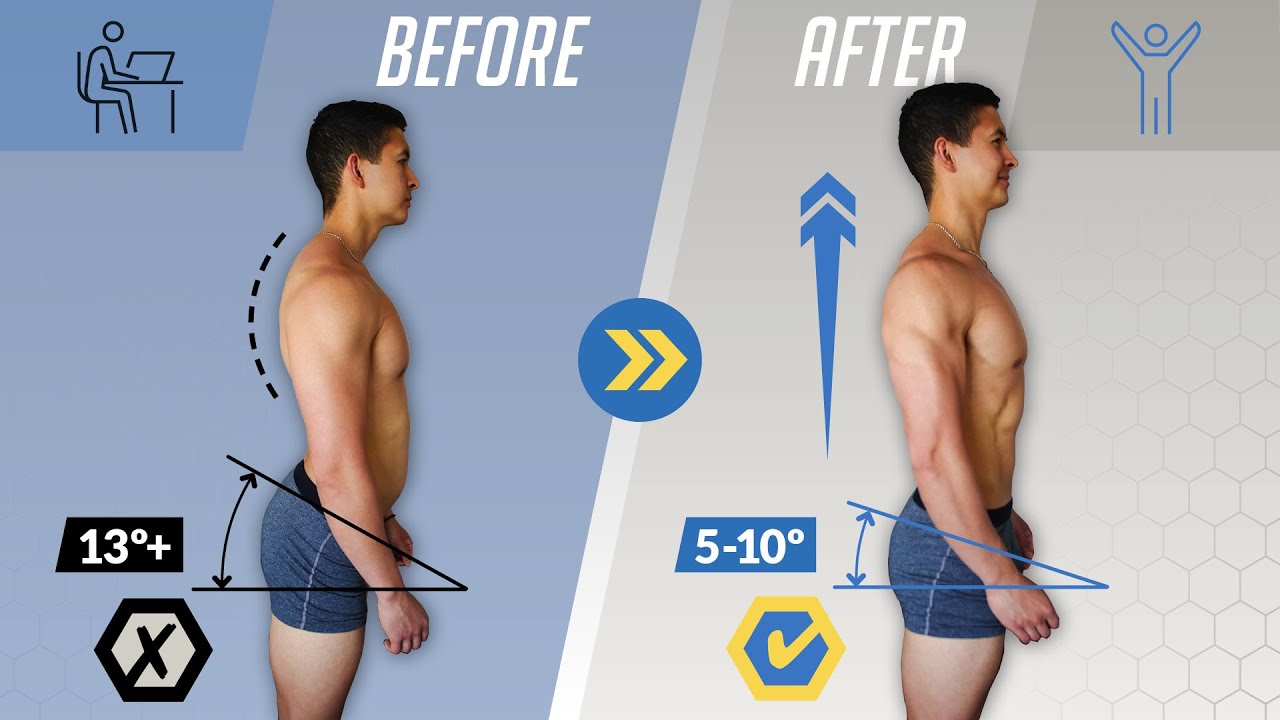
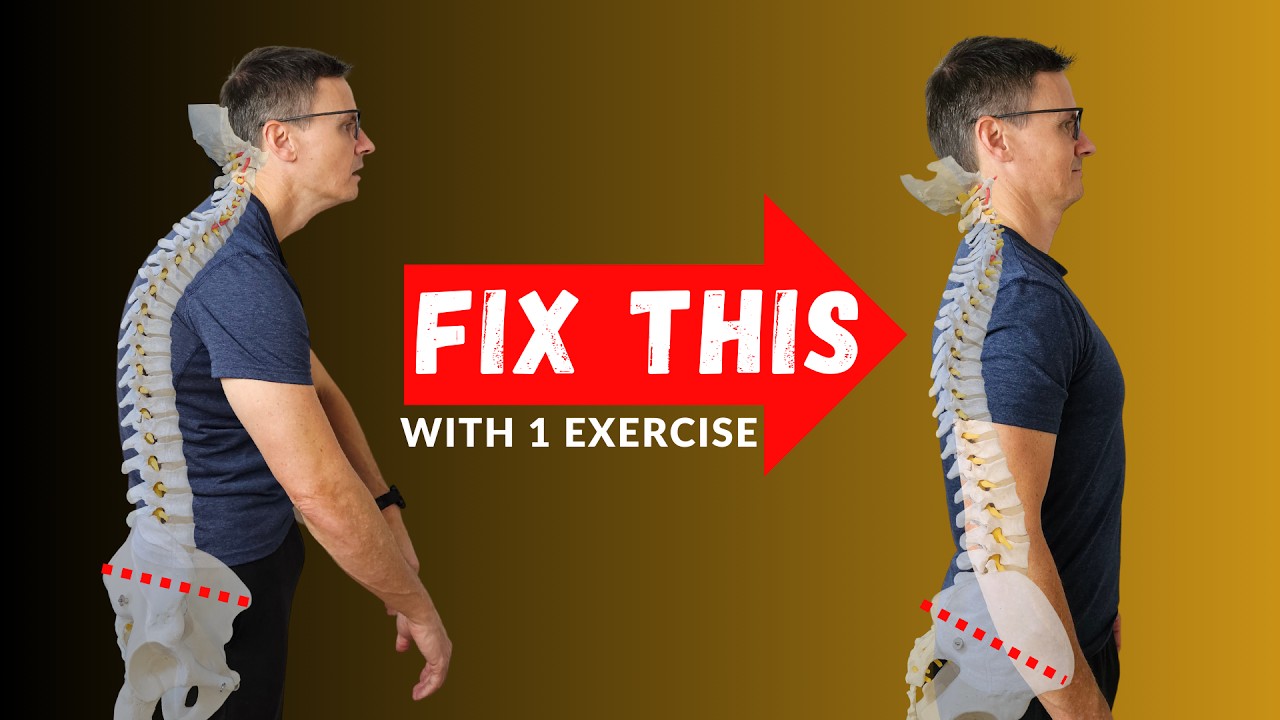
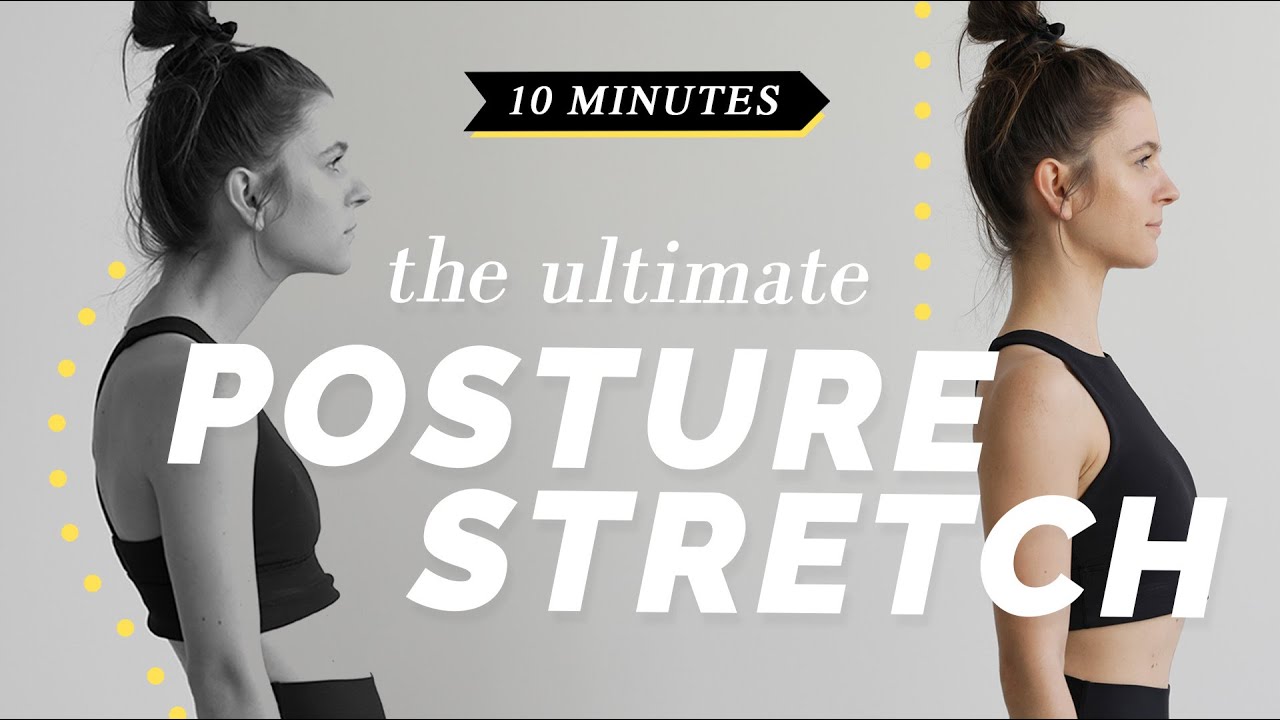
Start by evaluating your posture to identify issues like forward head, rounded shoulders, or swayback.

Wall Test (from Cleveland Clinic and HSS)

  1. Stand with your back against a wall.
  2. Position so head, shoulder blades, hips, and heels touch the wall.
  3. Pull head back, roll shoulders, tuck pelvis.
  4. Note gaps or discomfort.

Mirror Check

  • Stand sideways in a full-length mirror.
  • Observe head alignment over shoulders, neutral spine curves.

Sitting Test

  • Sit with feet flat, tuck chin, lower shoulder blades.

Take photos from front, side, back for before/after tracking.

Why this step matters:
  • -Identifies specific imbalances to target effectively
  • -Provides baseline to measure real progress over time
15-30 minutes
Full-length mirror, Wall, Smartphone camera
$0
Definition of Done
  • Can identify at least 2 personal posture issues
  • Perform wall test without excessive gaps or strain
Common Mistakes to Avoid

Forcing perfect alignment causing pain

Note natural gaps; focus on gradual adjustment

Skipping photos for tracking

Take dated photos weekly to visualize changes

2

Following along, or just reading? 👀

Spin up a personalized “learn posture correction” plan you can save, check off, and return to anytime — unlimited on the free trial.

Start free trial →
3
4
5