Master Pro iPhone Photography in 5 Steps

Master Pro iPhone Photography in 5 Steps

🧰

Instant Toolkit

3 artifacts

📋
Step-by-Step Guide

1

Get Started with the Camera App

Open the Camera app on your iPhone.

Key Controls:

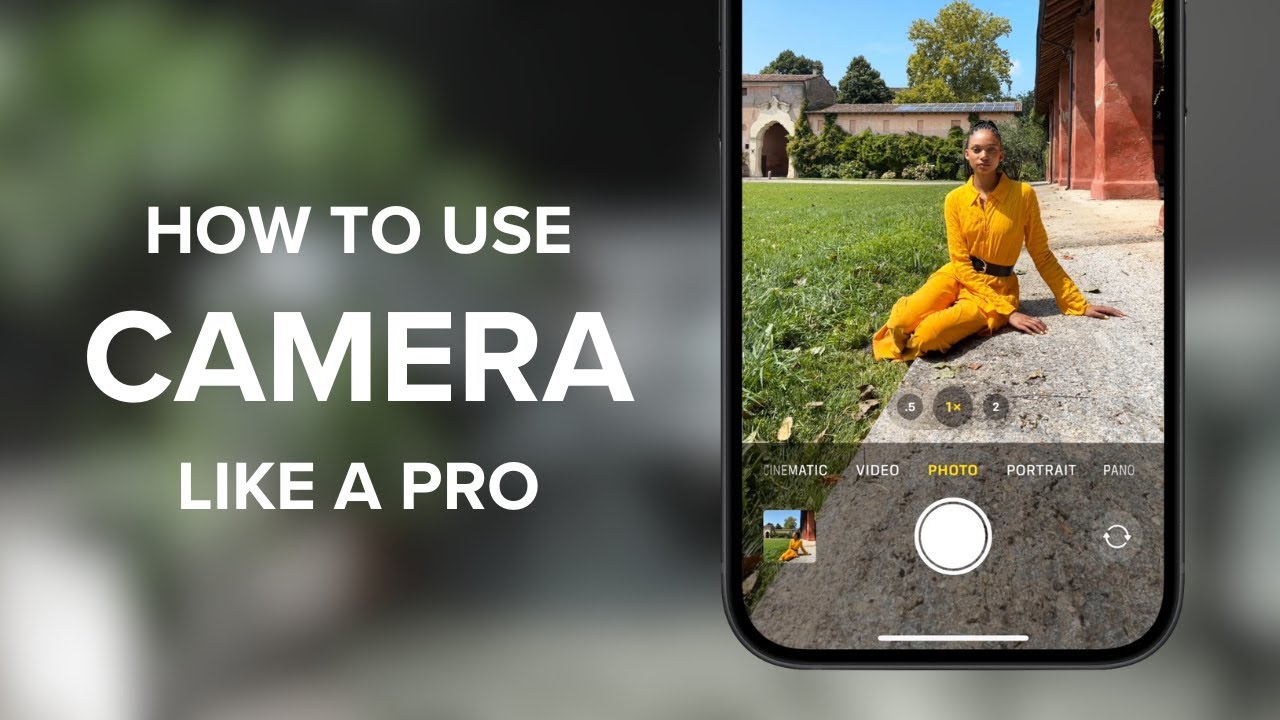
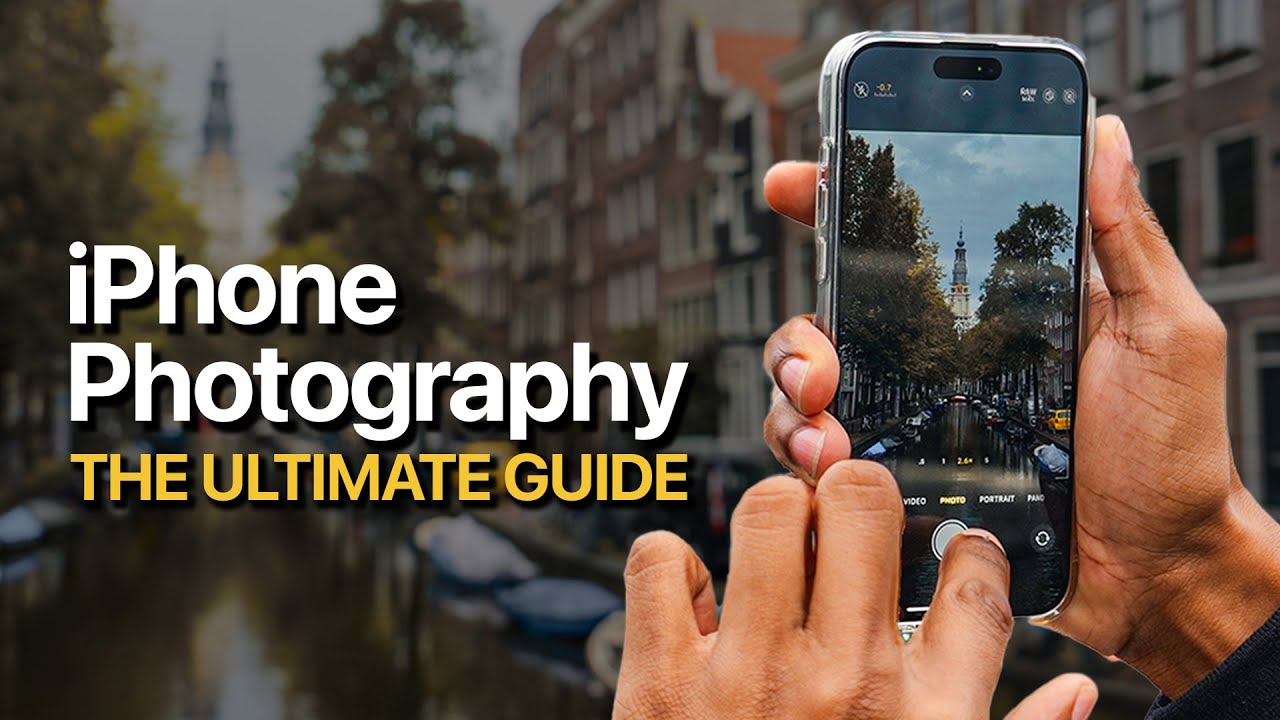
  • Swipe left/right to switch modes: Photo, Portrait, Night, Video, Cinematic, Pano.
  • Tap screen to set focus and exposure.
  • Swipe up/down on focus area to adjust exposure.
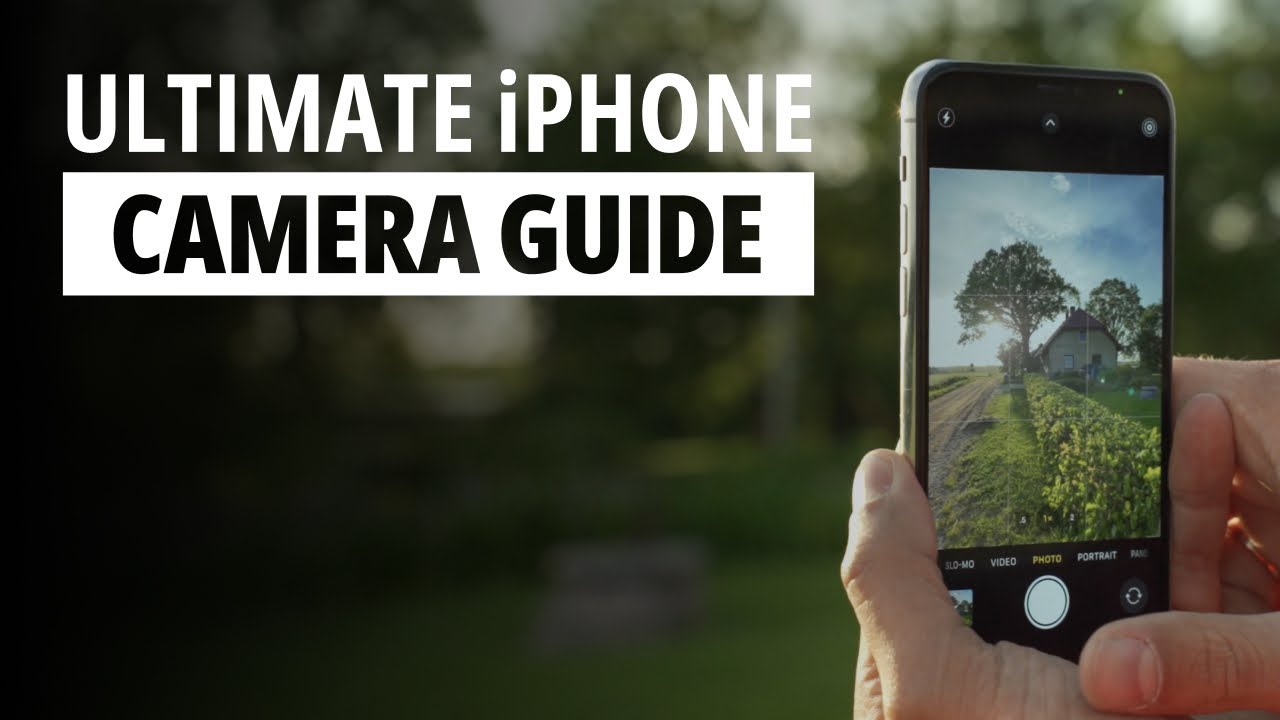
  • Enable Grid: Go to Settings > Camera > Grid (for rule of thirds).
  • Burst mode: Hold shutter for multiple shots.

Practice switching modes and taking 10 photos in Photo mode.

Why this step matters:
  • -Builds confidence in using built-in tools without accessories
  • -Lets you capture sharp, well-exposed shots immediately
1 hour
iPhone, Camera App, Settings App
$0
Definition of Done
  • Switch between 5+ camera modes fluently
  • Adjust focus and exposure on any subject
  • Capture a steady photo using grid alignment
Common Mistakes to Avoid

Relying on auto without tapping to focus

Always tap the main subject to lock focus

Shaky hands causing blur

Hold iPhone with two hands or use a surface

2

Following along, or just reading? 👀

Spin up a personalized “learn iPhone photography” plan you can save, check off, and return to anytime — unlimited on the free trial.

Start free trial →
3
4
5