Master TanStack Query for React Data Fetching in 5 Steps

Master TanStack Query for React Data Fetching in 5 Steps

🧰

Instant Toolkit

2 artifacts

📋
Step-by-Step Guide

1

Prerequisites

  • Basic React knowledge (hooks, components).
  • Node.js and npm installed.

Create React App

npx create-react-app my-query-app --template typescript
cd my-query-app

Install TanStack Query

npm install @tanstack/react-query
npm install @tanstack/react-query-devtools

Configure QueryClient

In src/index.tsx:

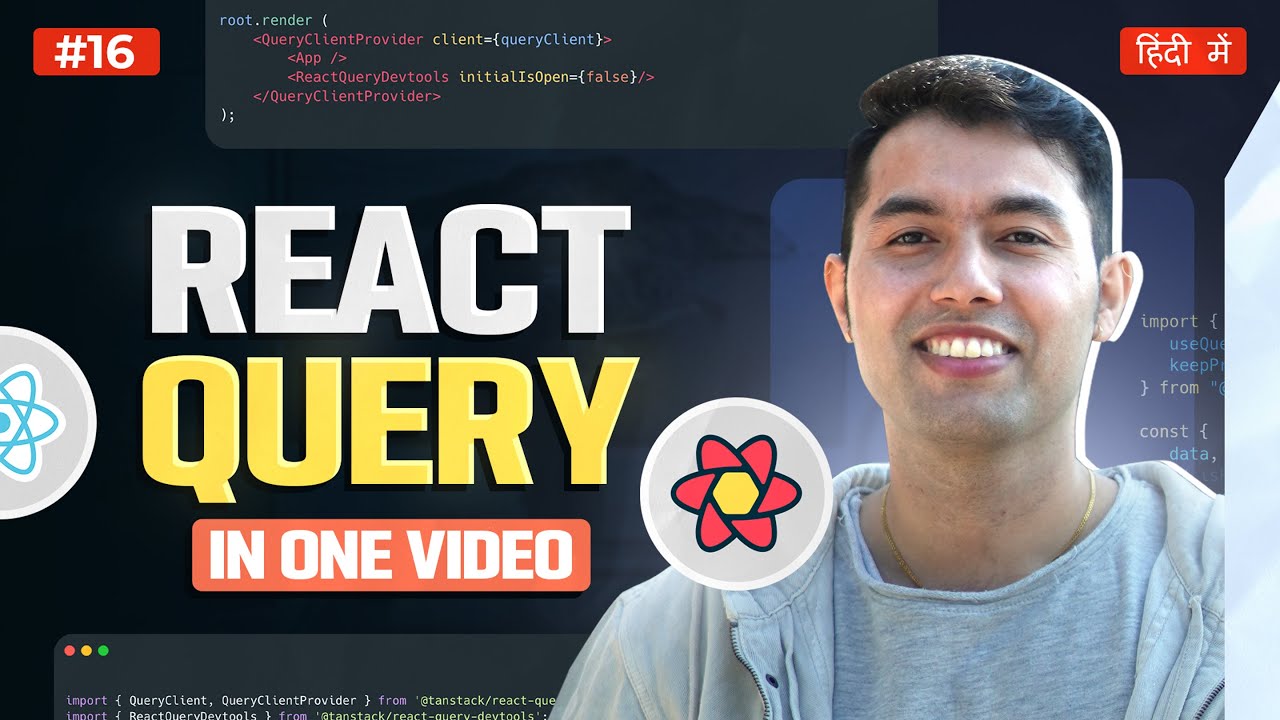
import { QueryClient, QueryClientProvider } from '@tanstack/react-query'
import { ReactQueryDevtools } from '@tanstack/react-query-devtools'

const queryClient = new QueryClient()

root.render(
  <QueryClientProvider client={queryClient}>
    <App />
    <ReactQueryDevtools initialIsOpen={false} />
  </QueryClientProvider>
)

Run npm start and verify devtools button appears.

Why this step matters:
  • -Establishes the foundation for all data operations
  • -Enables caching and state sync across your app
30-45 minutes
Node.js, npm, VS Code, Create React App
$0
Definition of Done
  • App runs without errors
  • Devtools panel toggles in browser
Common Mistakes to Avoid

Forgetting QueryClientProvider wrapper

Wrap entire <App /> in <QueryClientProvider client={queryClient}>

Installing outdated react-query package

Use @tanstack/react-query for v5+

2

Following along, or just reading? 👀

Spin up a personalized “learn React Query” plan you can save, check off, and return to anytime — unlimited on the free trial.

Start free trial →
3
4
5