Master WordPress Development in 5 Practical Steps

Master WordPress Development in 5 Practical Steps

🧰

Instant Toolkit

2 artifacts

📋
Step-by-Step Guide

1

Step 1: Set Up Local Development Environment

Install a local WordPress environment to safely test code.

Recommended Tools

Installation Steps

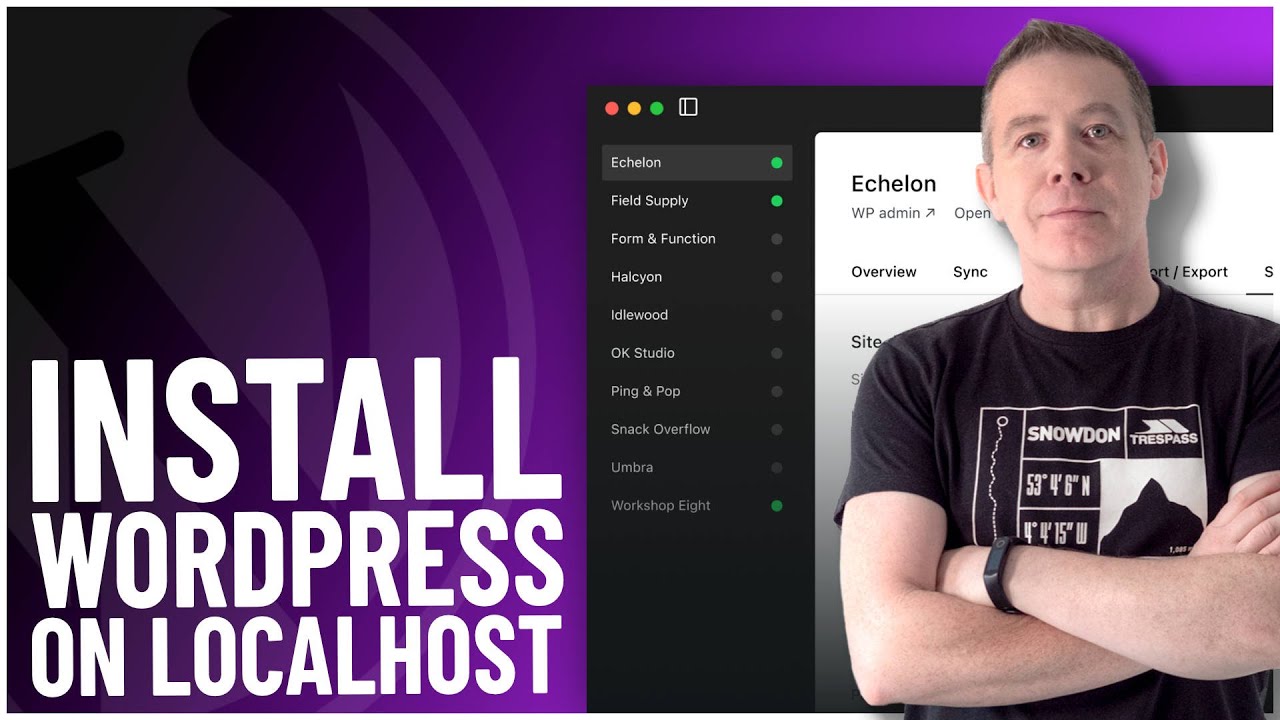
  1. Download and install WordPress Studio.
  2. Create a new site (includes WP installation).
  3. Access /wp-admin to log in.
  4. Install useful plugins: Theme Check, Query Monitor, Debug Bar.

Enable debugging: Edit wp-config.php and add:

define( 'WP_DEBUG', true );
define( 'WP_DEBUG_LOG', true );

Verify site loads frontend and admin.

Why this step matters:
  • -Builds a safe sandbox for experimentation without live site risks
  • -Essential for iterative coding and testing in real-world workflows
1-2 hours
WordPress Studio, Visual Studio Code, Git
$0
Definition of Done
  • Local WordPress site running with admin access
  • Debugging enabled and test plugins installed
Common Mistakes to Avoid

Using production server for development

Always use local env like Studio to isolate changes

Skipping debug setup

Add WP_DEBUG constants to wp-config.php early

2

Following along, or just reading? 👀

Spin up a personalized “learn WordPress development” plan you can save, check off, and return to anytime — unlimited on the free trial.

Start free trial →
3
4
5